Roddan
Lurking aroundDivine
LEVEL 2
110 XP
Welcome to my guide on how to compile Azerothcore 3.3.5a on Ubuntu 22.04.
This was done on a Dedicated Server from Hetzner.
Step 1 - Downloading
This was done on a Dedicated Server from Hetzner.
Step 1 - Downloading
- First all of you have to intall Ubuntu 22.04 obviously and download PuTTY or Termius, I prefer Termius due to it being so colorful and much easier to read & understand.
- You can find the download links below.
- PuTTY: Click me
- Termius: Click me (you can pay for Termius if you want, it's not needed!)
- I will be using Termius while doing this.
Step 2 - Getting Ready & Setting Up
- Launch PuTTY or Termius, one of the programs you decided to download and login with your credentials.
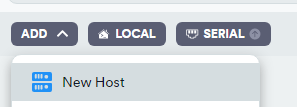
- Click Add at the top bar

- Click New Host
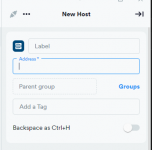
Now you will see this on the right side.
Enter your IP Address and Label you can name it whatever you want.
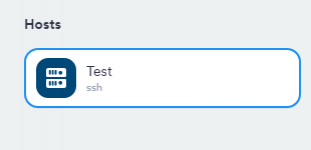
When you have entered your IP Address and your name on Label you will see this to your left.
Click on it and this window will open, login with your Username and Password.
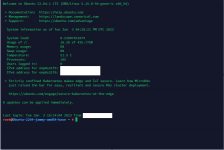
Now when you have successfully logged in you will see something like this.
Step 3 - Making a User
First of all we need to create a new user since we don't wanna do this as a root user.
Let's name our user azeroth, by adding a new user enter this.
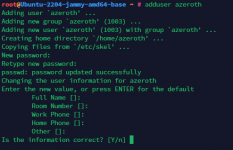
adduser azeroth
It will ask for a password, pick whatever you like. You don't have to enter your name, room, etc.
If you wanna skip everything after Password just hit Enter and when it ask you when the Information is correct type Y and hit Enter.
Now we can add our user to our sudo group so it will have Administrator Privileges and making the installation of the server much easier.
By doing so enter this:
usermod -aG sudo azeroth
Now we will use our user named azeroth instead of doing this as root. By switching over to our new user enter this:
su - azeroth
If you wanna go back to root user you can type:
sudo -i
When it ask for the password, it's the password of your new user not root password.
Step 4 - Necessary Server Requirements
Let's get started to install the Necessary Server Requirements to be able to Install & Compile and run the Server.
Copy & Paste this to install the necessary programs.
sudo apt update && sudo apt full-upgrade -y && sudo apt install git cmake make gcc g++ clang libssl-dev libbz2-dev libreadline-dev libncurses-dev libboost-all-dev mariadb-server mariadb-client libmariadb-dev libmariadb-dev-compat
Step 5 - Getting the Source Code & Compiling
Now copy this and insert it into the terminal so we can download and compile the core.
git clone https://github.com/azerothcore/azerothcore-wotlk.git --branch master --single-branch azerothcore
When it's done it will look something like this:
Now if you type ls into the terminal you will see a new folder called azerothcore
Now you have to enter the folder by doing so you type:
cd azerothcore
When you are inside the folder create a new folder named build. Type:
mkdir build
Now we have to enter that folder. By doing so type:
cd build
When you are in the folder enter this.
cmake ../ -DCMAKE_INSTALL_PREFIX=$HOME/azeroth-server/ -DCMAKE_C_COMPILER=/usr/bin/clang -DCMAKE_CXX_COMPILER=/usr/bin/clang++ -DWITH_WARNINGS=1 -DTOOLS_BUILD=all -DSCRIPTS=static -DMODULES=static
You can change /azeroth-server/ to whatever you like. This is where your server will be placed after it's done compiling. I usually name mine server.
It will look like this when it's done.

If you don't know how many CPU Cores your server has you can see that by typing:
nproc --all
Like this:
Now since I have 8 cores I can us 8 cores to compile server so it goes faster.
Inside the build folder type:
make -j 8
Remember to change the number to the amount of cores you have. You don't have to use them all. Example: If you have 4 cores but only wanna use 2 you type make -j 2
I'm gonna use 6 so make -j 6
Now you have to wait till it's done it will take a while depending on how fast your computer is.
When it's done it will look something like this.

Now you have to type make install and it will build the server.
When it's done it will look like this:

